

Coffee Doughnuts

Hello, friends! I hope this post finds you well! I’m taking the time out today to update a recipe I was – and still am! – super passionate about: Coffee Doughnuts. I first made these luscious pillows of dough back in April 2016, and, although I don’t make doughnuts all that often, they hold a special place in my heart. Shortly before originally sharing this post, Boyfriend and I had fallen head-over-heels for doughnuts from Revolution Bakery. They were popping up everywhere & we greedily tried as many new flavours as possible – I’m talking 1-3 doughnuts a week. My absolute favourite flavour was salted caramel & honeycomb, while Boyfriend’s was Boston cream. In my original post, I worried that I was becoming obsessed and addicted – and I’d begun to think about making my own doughnuts. Enter: Coffee Doughnuts.
what do these coffee doughnuts involve?
I sadly didn’t take any photos of the making & baking process, but there are two main elements I’d like to draw your attention to.
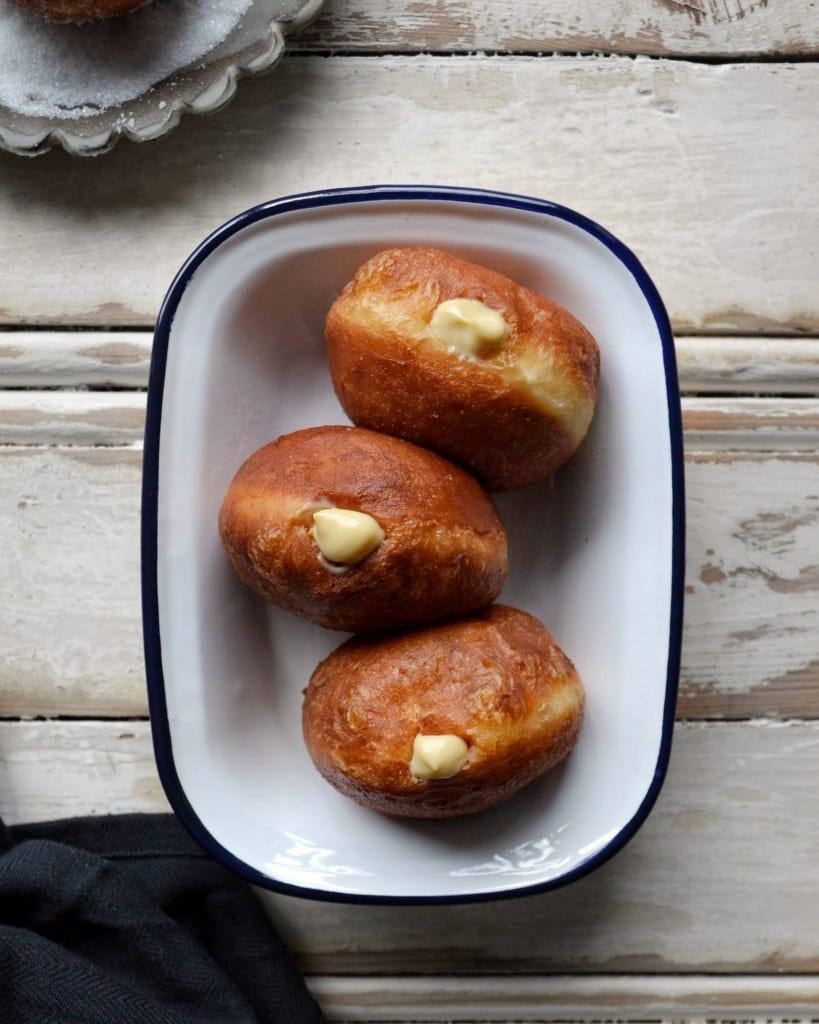
These coffee doughnuts are made using a brioche dough. If you’re intimidated by making brioche – don’t be! Brioche is an enriched dough that has a high fat content because of all the eggs & butter. This makes the dough extra light & pillow-y, and I just know you’re going to love it – it truly makes the most luscious doughnuts. The only downside of using a brioche dough is that it’s much harder to make by hand – my recipe calls for a stand mixer. The dough has three resting periods, each of which allow the doughnuts to develop gluten and strength.
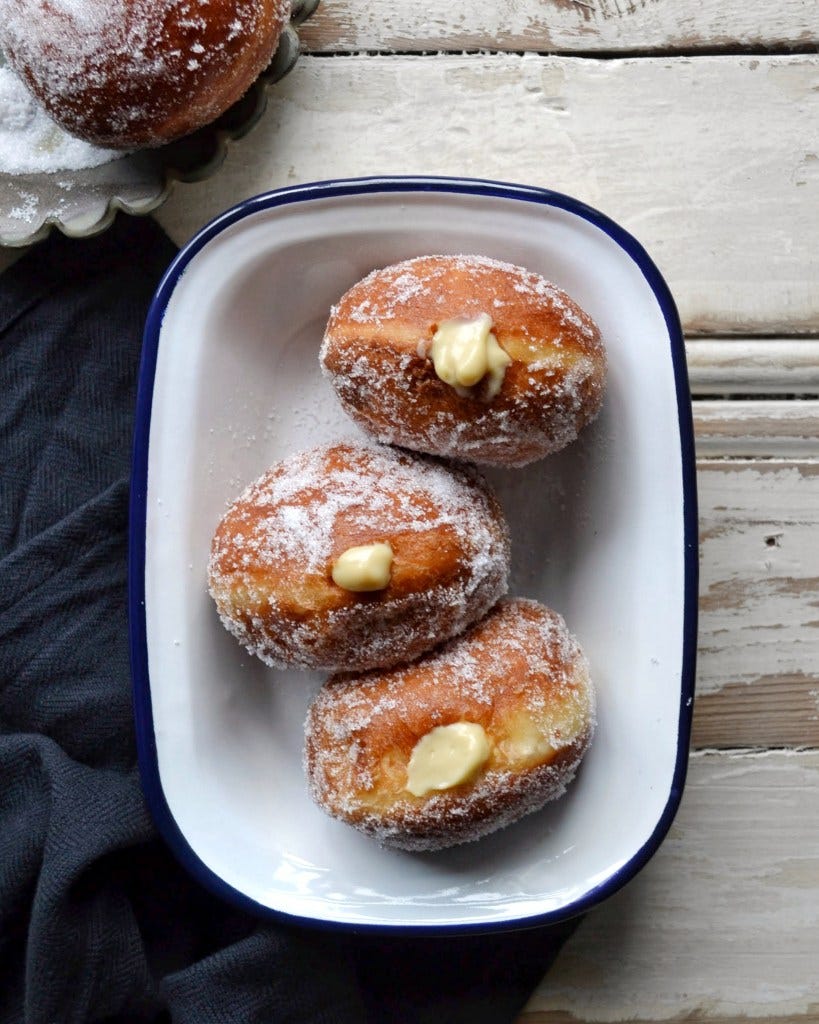
The filling for these doughnuts is a coffee flavoured pastry cream, or crème patissiere. In order to do this, we first have to infuse our milk by heating it gently, and then adding coffee beans. If you don’t have any coffee beans, I’ve also had success using 30g of ground coffee tied in muslin. Once this is done, it’s just a matter of using our infused milk to whisk up a crème pat. The trickiest part of making a crème patissiere is ensuring not to overcook the custard, so if you have a digital thermometer: you’re winning!
how do they taste?
Honestly, these coffee doughnuts are delicious. To quote my original post: these are just as good, if not borderline better than the Revolution Bakery doughnuts. Yes, the recipe is very accurate and somewhat intimidating. And yes, there’s a lot of waiting time – but it’s worth it. They’re crispy and sugary on the outside, yet they’re pillow-y and soft on the inside. The coffee filling has just the perfect amount of sweetness to compliment the dough without being sickeningly so.
When writing my original post, I was home alone listening to Norah Jones, enjoying a sneaky glass of red wine, and wishing I had one doughnut leftover. Today, I’m sitting here drinking my coffee, no wine or Norah to speak of, but also wishing I had a coffee doughnut leftover. Not much has changed, eh?
I hope you love them as much as I do!
Happy baking, xo.
Coffee Doughnuts
Yield: 9 large doughnuts & several mini ones
Author: Vicki @ Passionate Baker, dough recipe adapted from Bouchon Baker Cookbook
INGREDIENTS
for the doughnuts
518 g plain flour
10 g dry active yeast
74 g caster sugar
212 g full-fat milk, at 23°C
111 g eggs, lightly whisked
3 g vanilla extract
55 g salted butter, cubed & at room temperature
for frying & finishing
2 litres vegetable/groundnut oil, for frying
200 g caster sugar, for rolling
for the coffee pastry cream filling
132 g large egg yolks
110 g caster sugar
30 g cornflour
550 g full fat milk
20 g coffee beans
27 g salted butter, cubed and at room temperature
1 tbsp vanilla extract
DIRECTIONS
for the doughnuts, part i
Place the flour & yeast in the bowl of a stand mixer fitted with the dough hook & mix for about 15 seconds to distribute the yeast evenly. Add all of the remaining dough ingredients except for the butter & mix on low speed for a few minutes.
Add the butter a few cubes at a time, incorporating after each addition before adding the next. Be sure to keep stopping & scraping down the sides of the bowl & also the dough hook to ensure everything gets mixed properly! Mix the dough on low speed for 30minutes.
Turn the dough out onto a lightly floured surface. Fold the left side of the dough over to the right, the right over to the left, then the top to the bottom & the bottom to the top. You should have a little square with the seam at the top. Place the dough seam-side down in a bowl that has been lightly greased. Cover the bowl with cling film & leave to rise for 1-hour in a warm area.
Repeat the folding process place it back in the bowl, cover it over again & leave to rise in the fridge for another hour.
for the filling
Place the coffee beans on a baking sheet & use something blunt to crush them. Set aside.
In a medium saucepan, combine the milk with half of the sugar and place over a medium-low heat. When the milk comes just to a boil, remove from the heat. Add the crushed coffee beans to the milk, place a lid on the pot, and leave to infuse for 20-minutes. Strain the milk through a fine-mesh sieve and discard the coffee beans. Weigh the milk to make sure you have enough & top up whatever you need to. Set aside.
Set up a fine-mesh sieve over a medium sized bowl in an ice-bath, this needs to be ready before proceeding. Have your digital thermometer at the ready.
Combine the remaining half of the sugar with the egg yolks & cornflour in a medium bowl. Whisk until slightly paler in colour. Be careful not to leave the sugar sitting on top of the yolks for too long before whisking as they'll get hard and become unusable.
Place the coffee flavoured milk back on the stove and heat to just a boil. Pour 1/3 of the hot milk into the yolk mixture, whisking constantly. Pour the milk-yolk mixture back into the pot & cook over a medium-low heat, whisking constantly (!), until the mixture is thick & reads at least 82°C on a digital thermometer. Remove from heat, add the butter & vanilla extract & whisk to combine. Strain the cream through the sieve into the bowl set over the ice-bath.
Cool the pastry cream to room temperature, then place a piece of plastic wrap directly on the surface to prevent a skin from forming & refrigerate until needed.
for the doughnuts, part ii
Line a baking tray with baking parchment and lightly spray the parchment with grease spray. Set aside.
After the second rest, lightly flour your work surface. Divide the dough up into nine 70g doughnut portions and use lightly floured hands to roll them into circles. If there's leftover dough, make mini circles. Place the doughnuts onto the prepared tray, cover lightly with cling film, and leave to proof in a warm area for 1-1.5-hours, or until puffy.
to fry the doughnuts
Heat the oil in a large heavy bottomed pot, ensuring the oil is at least 3-inches deep. Heat to 175°C.
When proofed, uncover the doughnuts and have them ready beside the pot. Have a cooling rack on a sheet pan and your finishing sugar in a bowl close by.
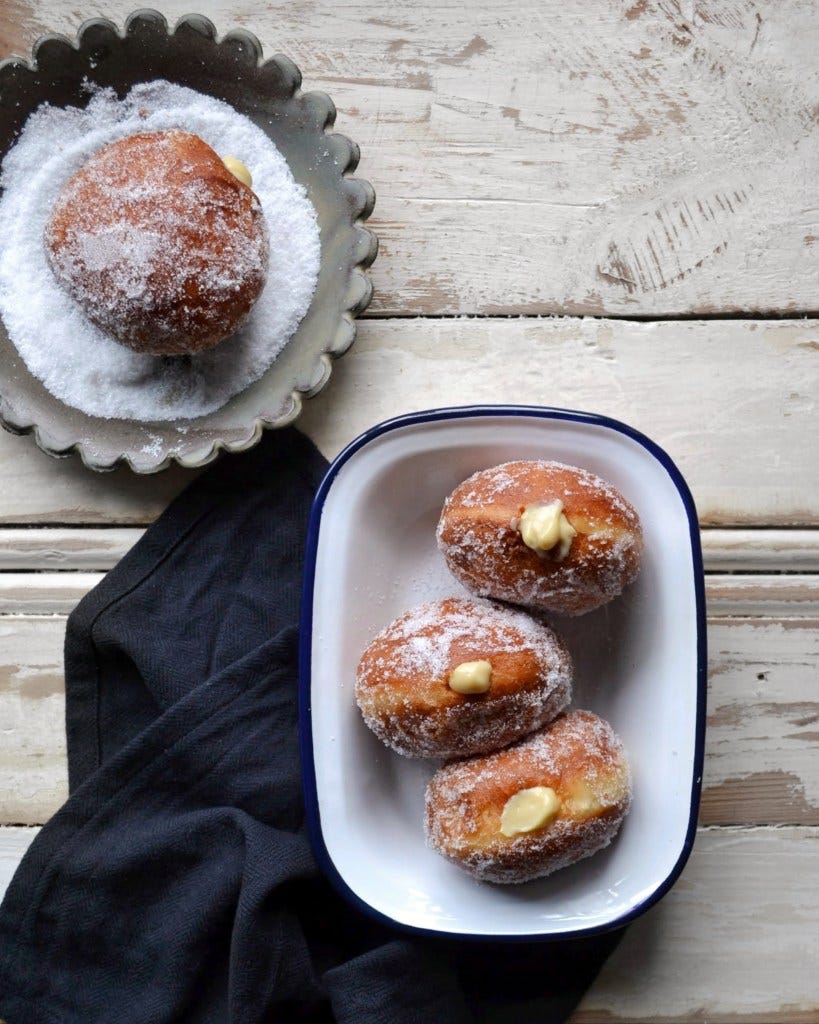
Gently drop one-two doughnuts into the oil, making sure not to splash yourself. Fry for 2-minutes on each side – they will be deep golden brown in colour. Use a slotted spoon to remove from the oil, and place on the cooling rack. Leave to cool for about 5-minutes before transferring to the bowl of sugar and generously tossing. Repeat with the remaining doughnuts.
to fill the doughnuts
Transfer the coffee pastry cream to a piping bag fitted with a small circular piping tip. Using a small knife, make a small incision in the side of each doughnut.
Insert the piping tip & pipe until you feel the doughnut swell in your hand. Anywhere between 20-50g is perfect. Enjoy while warm with a cup of coffee!
Did you make this recipe? I’d love to know! Please leave a comment & a rating below, or tag me on Instagram @imvcki. Thank you so much for supporting Passionate Baker!
*side note: when updating this post, I couldn’t find anything online about Revolution Bakery. From what I remember, they were a side venture of Firehouse Bakery.
*POST UPDATED FEBRUARY 2021
The post Coffee Doughnuts appeared first on Passionate Baker Travels.