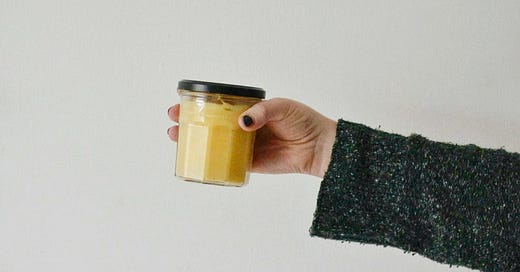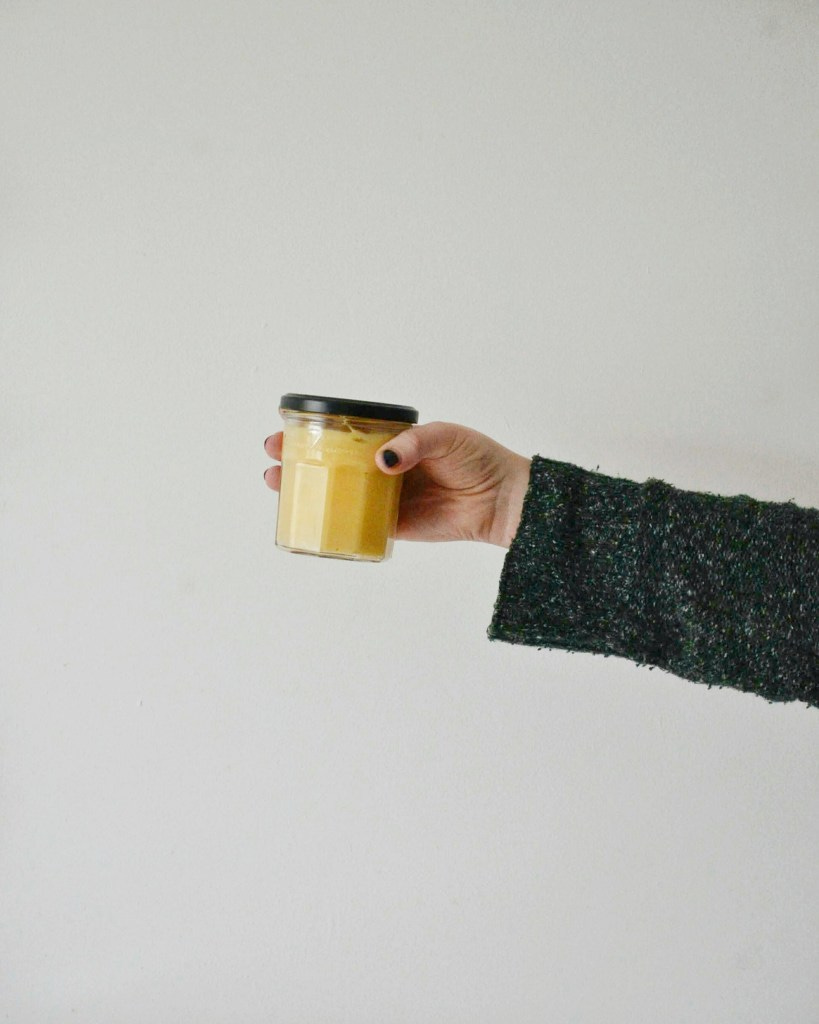
Blood Orange Cream, A Seasonal Spread
Friends – it’s blood orange season! Let’s celebrate by making this Blood Orange Cream together, shall we?
I understand you might have a few questions about this. One might be: what the heck is a Cream and why would I bother to make one? Cream is like curd’s more attractive sister – it’s ultimately more smooth, luscious, & lighter.
Another: what on earth would I use that for? Well, she’s pretty versatile! You can serve it chilled with some lightly whipped cream for a stand alone dessert, eat it straight from the fridge with a spoon, lace it through yogurt or spread on lightly toasted bread. Or, you can wait until next week for my new recipe. It’ll be worth the wait!
Or, make one batch of blood orange cream now and another next week. I get you.
Chat soon!
Blood Orange Cream
Smooth, lusciously light, & seasonal – this blood orange cream can be used in porridge, with cream, or in choux buns.
Yield: 2 cups
Author: Vicki
INGREDIENTS
1/2 cup blood orange juice (about 2.5 oranges worth
2 tbsp lemon juice
3 large eggs
1 large egg yolk
3/4 cup caster sugar
1/2 tsp vanilla extract*
225 g salted butter, cubed into 1-inch pieces
DIRECTIONS
Bring a pot of water to a simmer.
In a heatproof bowl combine the blood orange juice, lemon juice, the eggs + yolk, and the sugar. Be sure to whisk together the ingredients immediately to stop the sugar cooking the eggs. Place the bowl over the simmering water – making sure that the bowl doesn’t touch the water – & cook, whisking continuously, until the mixture hits 180°F/82°C on a thermometer, about 18-minutes. The mixture should be thick enough to leave a trail through the cream.
Remove the bowl from the heat & set aside. Whisking occasionally, let the mixture cool to 140°F/60°C. If there are some traces of cooked egg yolk in the cream, strain it through a sieve into a clean bowl.
When the cream is ready, use an immersion blender (or transfer to a food processor) to combine the butter into the mix one cube at a time, combining thoroughly before adding the next cube. The cream should be pale & quite thick by the time you are finished.
Transfer the cream to an airtight container with a layer of cling film pressed directly on top. Keeps in the fridge for up to 7 days.
NOTES
I always use homemade vanilla extract!
Did you make this recipe? I’d love to know! Please leave a comment & a rating below, or tag me on Instagram @imvcki. Thank you so much for supporting Passionate Baker!
Tag me on Instagram if you make this!
The post Blood Orange Cream, A Seasonal Spread appeared first on Passionate Baker Travels.


