

S’mores Tart


Friends, hello. How are you? I hope this post finds you well wrapped up against the autumnal winds. There is a near constant haze of drizzle outside our windows lately, and I’ve been battling it the best way I know how: baking. Breads, cheesecakes, ice-creams, s’mores tart – it’s been wonderful. Normally I’d invite friends over for tastings, but due to the rising number of cases recently we’ve had to batten down the hatches. I’ve combated the issue of too-much-baked-goods by offering curb-side collections for loved ones who live nearby.
Now, who wants some drive-thru S’mores Tart?

what is a s’more?
It has come to my attention that not everybody knows what a s’more is. Cough, Boyfriend, cough. There are three main ingredients in a s’more:
• a biscuit. I’ve only ever had s’mores made with Digestive biscuits, but in the US they are typically made with graham crackers. From my online investigations, the only difference appears to be that graham crackers are lightly spiced and digestives are plain. Either will work here.
• a layer of chocolate. This component has varied widely for me over the years, from Lidl’s finest to fancy artisan chocolates. For our s’mores tart, we’ll be making a simple chocolate ganache filling, comprised of just three ingredients.
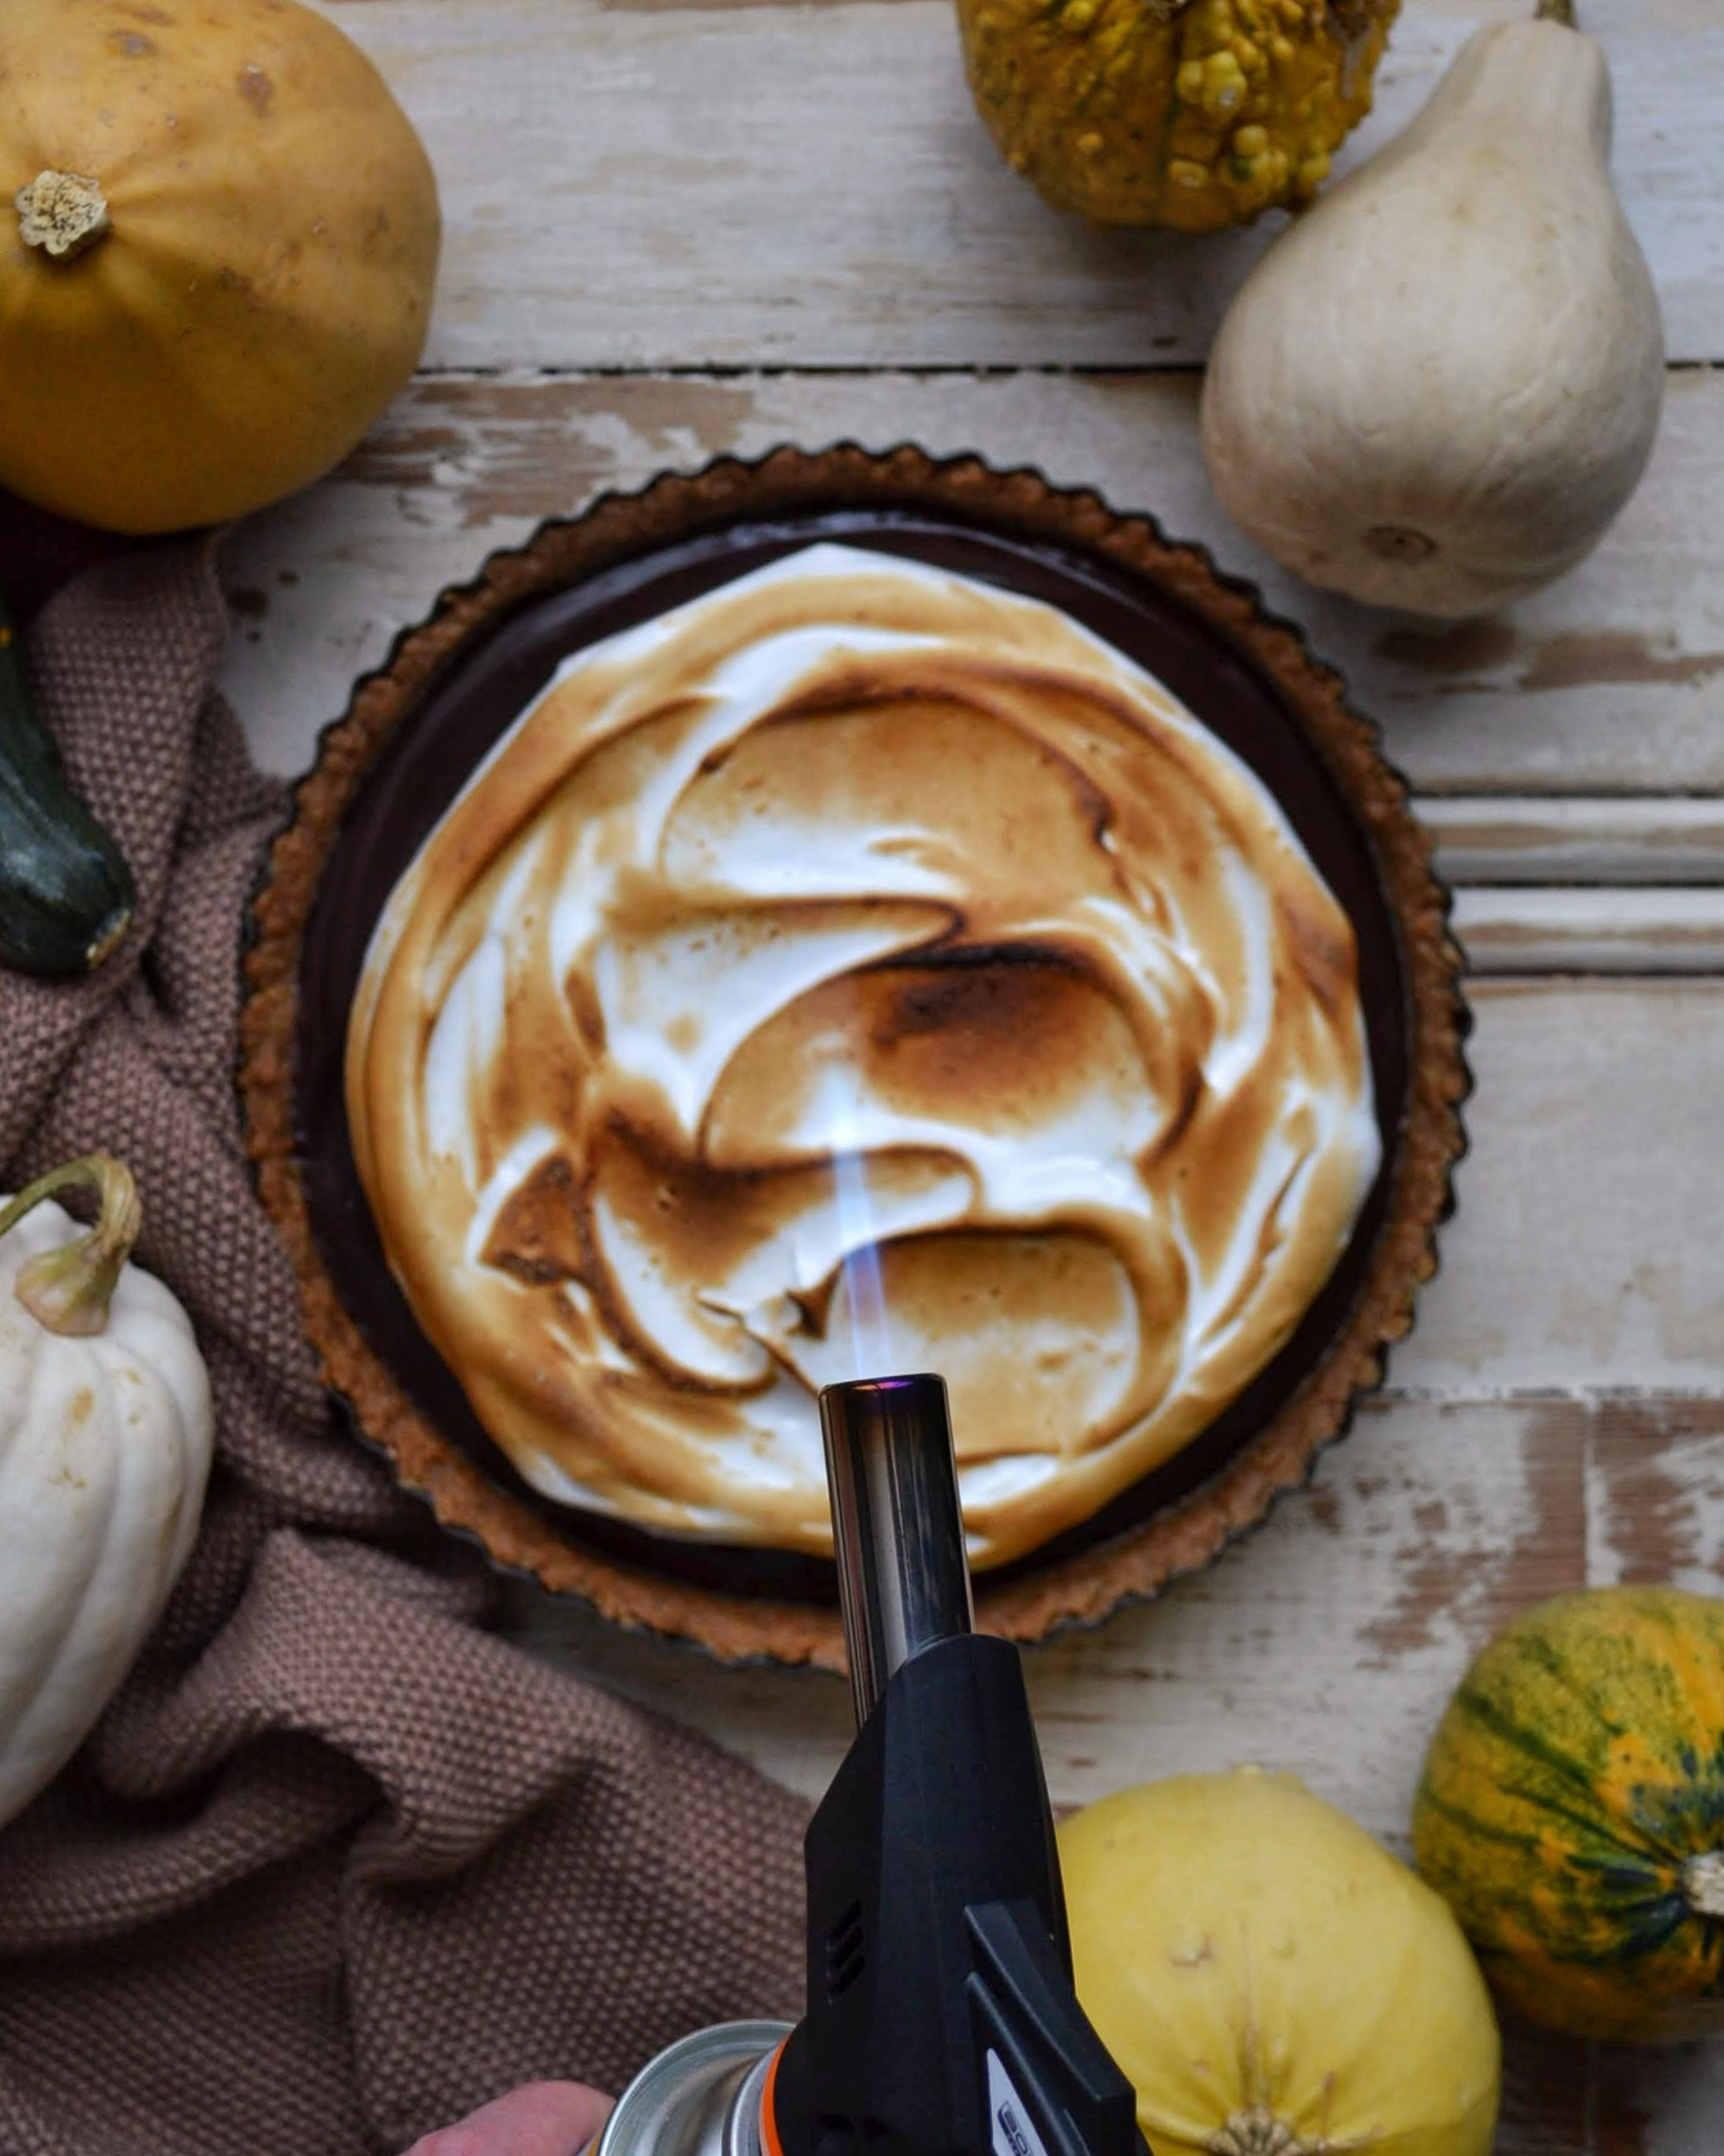
• a marshmallow. It’s the classic toasted marshmallow that makes the s’more all gooey and luscious. Here, we’ll be making an Italian meringue topping & torching it with our kitchen blow-torch.

how do I make a s’mores tart?
What we’re aiming for here is a s’more, without the joy of sitting around a campfire with friends & family. I’m already planning a s’mores soiree for next summer, but until then, we’ve got our kitchen blowtorch and the baking know-how to make do. We’re baking up a S’mores Tart that’s crumbly, chocolatey, and gooey. Let’s!


The crust is a simple biscuit-butter-sugar mixture, pressed into a tart tin, and lightly baked for structure. Realistically, you could probably skip the baking if you wanted, but it might verge on the wrong side of too crumbly. After baking, we need to let the tart shell cool completely before taking the next step. I made myself a cup of coffee and gave it 45-minutes.


For the filling, we’re going to whip up a simple chocolate ganache. Warmed double cream poured over chopped chocolate & cubed butter; a gift from the baking gods. We whisk until smooth, and pour into our cooled tart shell. I found this to be particularly soothing – the ganache is silky smooth & a sheer joy to spread. We’ll wait for this to set completely before adding the marshmallow topping – I’ve recommended 2-hours but it will probably take less; you be the judge.
The topping is my favourite bit. It’s extra gooey and insanely delicious. I went down the Italian meringue route, so that we didn’t have to add gelatin or do any additional baking, but also because I wanted to use my blowtorch. A S’mores Tart wouldn’t be complete without a toasty finish.
I just know you’re going to love it! Happy baking!
S’mores Tart
A buttery biscuit base, silky chocolate ganache, and a lightly torched gooey marshmallow topping.
P R E P15 minutes
C O O K35 minutes
T O T A L3 hours 35 minutes
Yield: 9 inch tart
Author: Passionate Baker
INGREDIENTS
for the biscuit base
290 g biscuits – digestives/graham crackers etc
3 tbsp caster sugar
100 g salted butter, melted
for the chocolate filling
400 g dark chocolate, finely chopped
70 g salted butter, cubed & at room temp
260 g double cream
for the italian meringue
90 g egg whites
180 g caster sugar
40 ml water
DIRECTIONS
for the biscuit base:
Preheat the oven to 180°C.
Place the biscuits & the sugar into a food processor & blitz until small crumbs form. Pour in the melted butter and pulse until everything is homogenous.
Using your fingers, evenly press the mixture into a 9-inch tart shell with a removable base. I like to use a cup measure to press the mix firmly into the edges.
Place the tart shell on a baking tray, and bake in the preheated oven for 10-12 minutes, or until the edges turn a light brown. Remove from the oven & leave to cool completely, about 45-minutes.
for the chocolate filling:
Place the chocolate & butter into a medium sized heatproof bowl; set aside.
Pour the double cream into a small saucepan & place over a low heat until just warmed – there should be some tiny bubbles just starting to appear around the sides.
Pour the warm cream over the chocolate/butter & leave to sit for 5-6 minutes before whisking vigorously.
Once fully combined*, pour over the cooled biscuit base and use an offset spatula to spread evenly. Place in the fridge 2 hours, or until the filling has set completely.
for the italian meringue:
Place the egg whites in the base of your stand-mixer with the whisk attachment. Do not whip, but have ready.
In a medium pot, combine the sugar and water, stirring gently with a wooden spoon until evenly mixed. Place over a medium heat, continue to stir gently, and monitor the temperature of the mix with a kitchen thermometer.
When the sugar mixture reaches 110°C, turn the stand-mixer to a low-med speed & begin whipping the egg whites. When the sugar reaches 118-119°C, remove from the heat.
Ensuring the egg white mixture is frothy & slightly voluminous, slowly begin to pour the hot sugar mixture down the side of the bowl and into the egg whites, all while the mixture is going at medium speed.
Turn the mixer to med-high speed & whisk together until the mixture is cool, stiff & very shiny – about 7-minutes. It is finished when you remove the whisk & a stiff peak forms.
to assemble
Dollop the meringue on top of the cooled chocolate filling and use an offset spatula or the back of a spoon to spread around.
Using a kitchen blowtorch, gently brown the top of the meringue until scorched and luscious. Enjoy!
NOTES
I was a bit lazy when finely chopping my chocolate for the ganache, so ended up with some larger chunks that didn’t melt with the heat of the cream. If this happens to you, don’t panic! Place the whole bowl (butter, cream, and partially melted chocolate) over a pot of simmering water and stir until evenly combined. Works every time!
Did you make this recipe? I’d love to know! Please leave a comment & a rating below, or tag me on Instagram @imvcki. Thank you so much for supporting Passionate Baker!