

Godzilla Cake: The Making of

Hello lovely people, happy Wednesday! I’ve had such a busy morning and I’ve been dying to get home so I could share the details of this Godzilla Cake with you! As I mentioned in May’s Monthly Musings post, Boyfriend’s sister asked me if I could make a dinosaur/monster shaped cake for her son’s seventh birthday. I kind of said yes without working out the logistics of it, and then totally panicked. I’ve never made anything like this before, and I was freaked out that I’d ruin Boyfriend’s godson’s birthday. But then I remembered: he’s 7, he won’t really care what his cake looks like as long as it has chocolate inside. After that thought, everything fell into place – my art-loving mama was on board to help out, we found a great visual aide on Pinterest, and we were itching to get started!
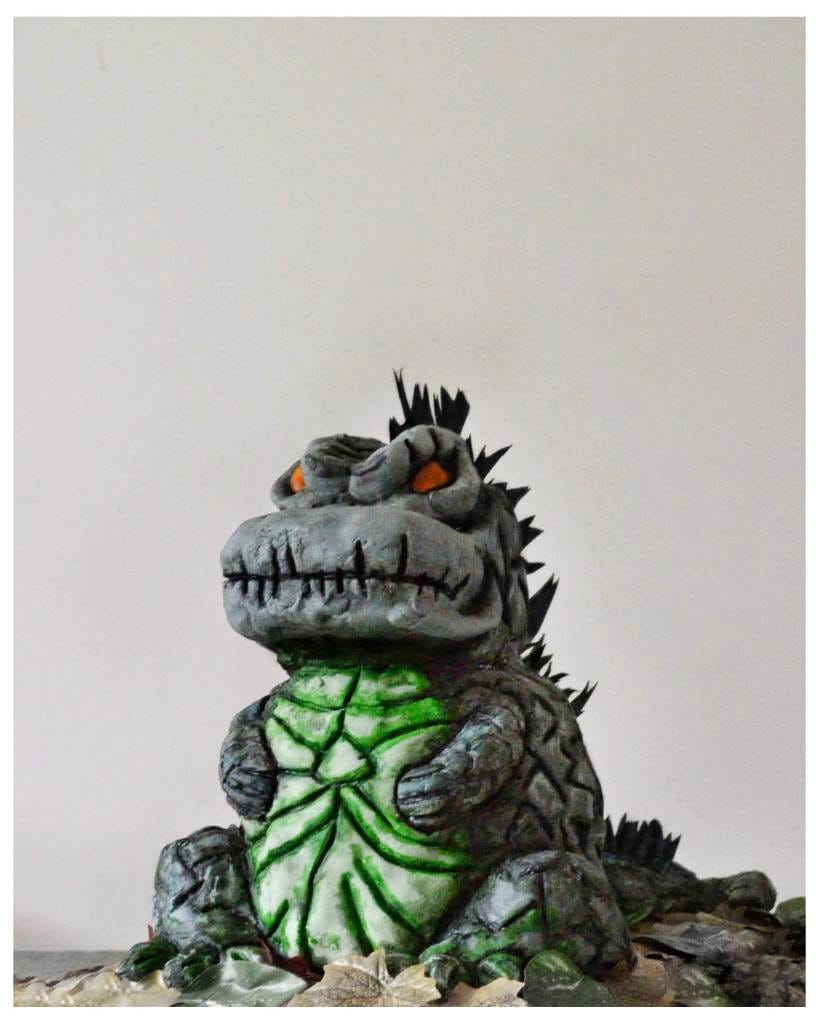
Now, I hadn’t really intended for this to be a blog post so please excuse the photos. This was probably the most technically challenging cake I’ve ever made – but once we worked out the basics of molds and shaping etc., it was almost a breeze! And I’m beyond thrilled with how he turned out in the end – he was almost too cute to eat! We named him Zilla
This is by no means a recipe, more a sort of guide if you find yourself in need of a monster cake.
Enjoy!
How I Made a Godzilla Cake
gather your ingredients
James, our birthday boy, requested the family chocolate biscuit-cake, made exclusively with Cadbury’s Dairy Milk & Marietta biscuits. To make a monster this big, we used:
• 15 regular 200g bars + 1 large 360g bar = 3360g chocolate. Gosh, it really melts down to nothing!
• 6 packs biscuits = 1200g biscuits. I crushed these into relatively small pieces, but left some slightly larger.
• fondant icing = 1.2kg. We used store-bought white fondant, which we then kneaded food colouring into to give us three main colours: grey, blue, and green.
• food colouring. Black, blue, green, and yellow.
• apricot jam. We needed to use the jam as a glue to stick the fondant onto the biscuit-cake, but it has a very subtle taste.
step i: make the layers
We needed an array of different sized tins and molds to make Zilla come to life, and we also had to get a little creative for the tail and make a mold out of cardboard. It’s best to work out what tins you’ll need before making the biscuit-cake. Here’s what we used:


• baking tins: 8-inch/7-inch/6-inch/4-inch. Four descending sizes to act as the torso.
• homemade tail: about 2-inches across the top. I shaped this tail out of cardboard, but it could easily be done with tin foil/baking parchment.
• a shallow oval tin 5-inches long: the only time I’ve ever used this and I’m so glad I had it! It’s an individual pie tin, but with a piece of parchment wrapped cardboard in the middle, it became two stumpy monster legs!
The main thing is to try to keep all the layers as flat as possible – otherwise they’ll be harder to stack. To help ensure this was the case, I laid some spare Marietta biscuits across the top of the more bumpy layers. An offset spatula was also a great help in keeping things smooth.
*not pictured: the head molds – sorry! Making the head involved four separate molds: two shallow bowls and two shallow rectangle dishes. When the molds are set, sandwich the two rectangles together, and pop a bowl mold on the bottom + top. Honestly, if it wasn’t for the help of my mom this Godzilla wouldn’t have a head at all! She helped me shape the biscuit-cake like a pro.
step ii: shape your creation!


I very nearly forgot to take a photo of this stage, but I think you get the idea from this shot. Here’s how we went about shaping our monster:
• get all of your layers into position. Obviously they aren’t stuck together yet, so don’t be disheartened at this stage – it’s just to give you a rough idea of the shape.
• using a sharp knife, shave the layers into shape. Cut off any bumpy bits that stop them sitting together evenly, and shape the edges as needed. Our biscuit-cake layers had severe edges, so we trimmed off shavings to make the torso sides smoother. We also shaved the base mold of the head down to give us a flatter surface – making it easier to stick to the torso.
• keep all of the cut-offs! We kept every single shaving so that we could melt it back down and use it as glue.
• stick the layers together. If you were making this from cake, you’d use buttercream or frosting – we used melted chocolate mixed with our reserved shavings. We ladled it in between our shaped layers as we stacked them up and used leftovers to fill any obvious holes around the edges. We held it all in place for a few minutes, then transferred the whole thing to the fridge to chill completely, about an hour.
step iii: cover the cake and add extras


Now, time to cover that bad boy up! Here’s how we covered our chocolate monster:
• cover the whole thing with a thin layer of apricot jam. This acts as the glue that holds the fondant in place, so make sure you cover every inch.
• roll the fondant icing out as thin as possible. We covered the whole thing in a base layer of grey fondant, just to make sure it was the same all over. To make life easier, we cut ours into two large pieces and covered one side at a time.
• next, the belly & underside. We went for green, which I don’t think is exactly right for the real Godzilla, but it was perfect for Zilla. We cut an oval shape for the belly, and two long strips to run along the bottom of the sides. Make sure to wet the areas of fondant you want to stick any extra layers to with water, otherwise they won’t stick together. Don’t worry – it dries completely after a few hours!
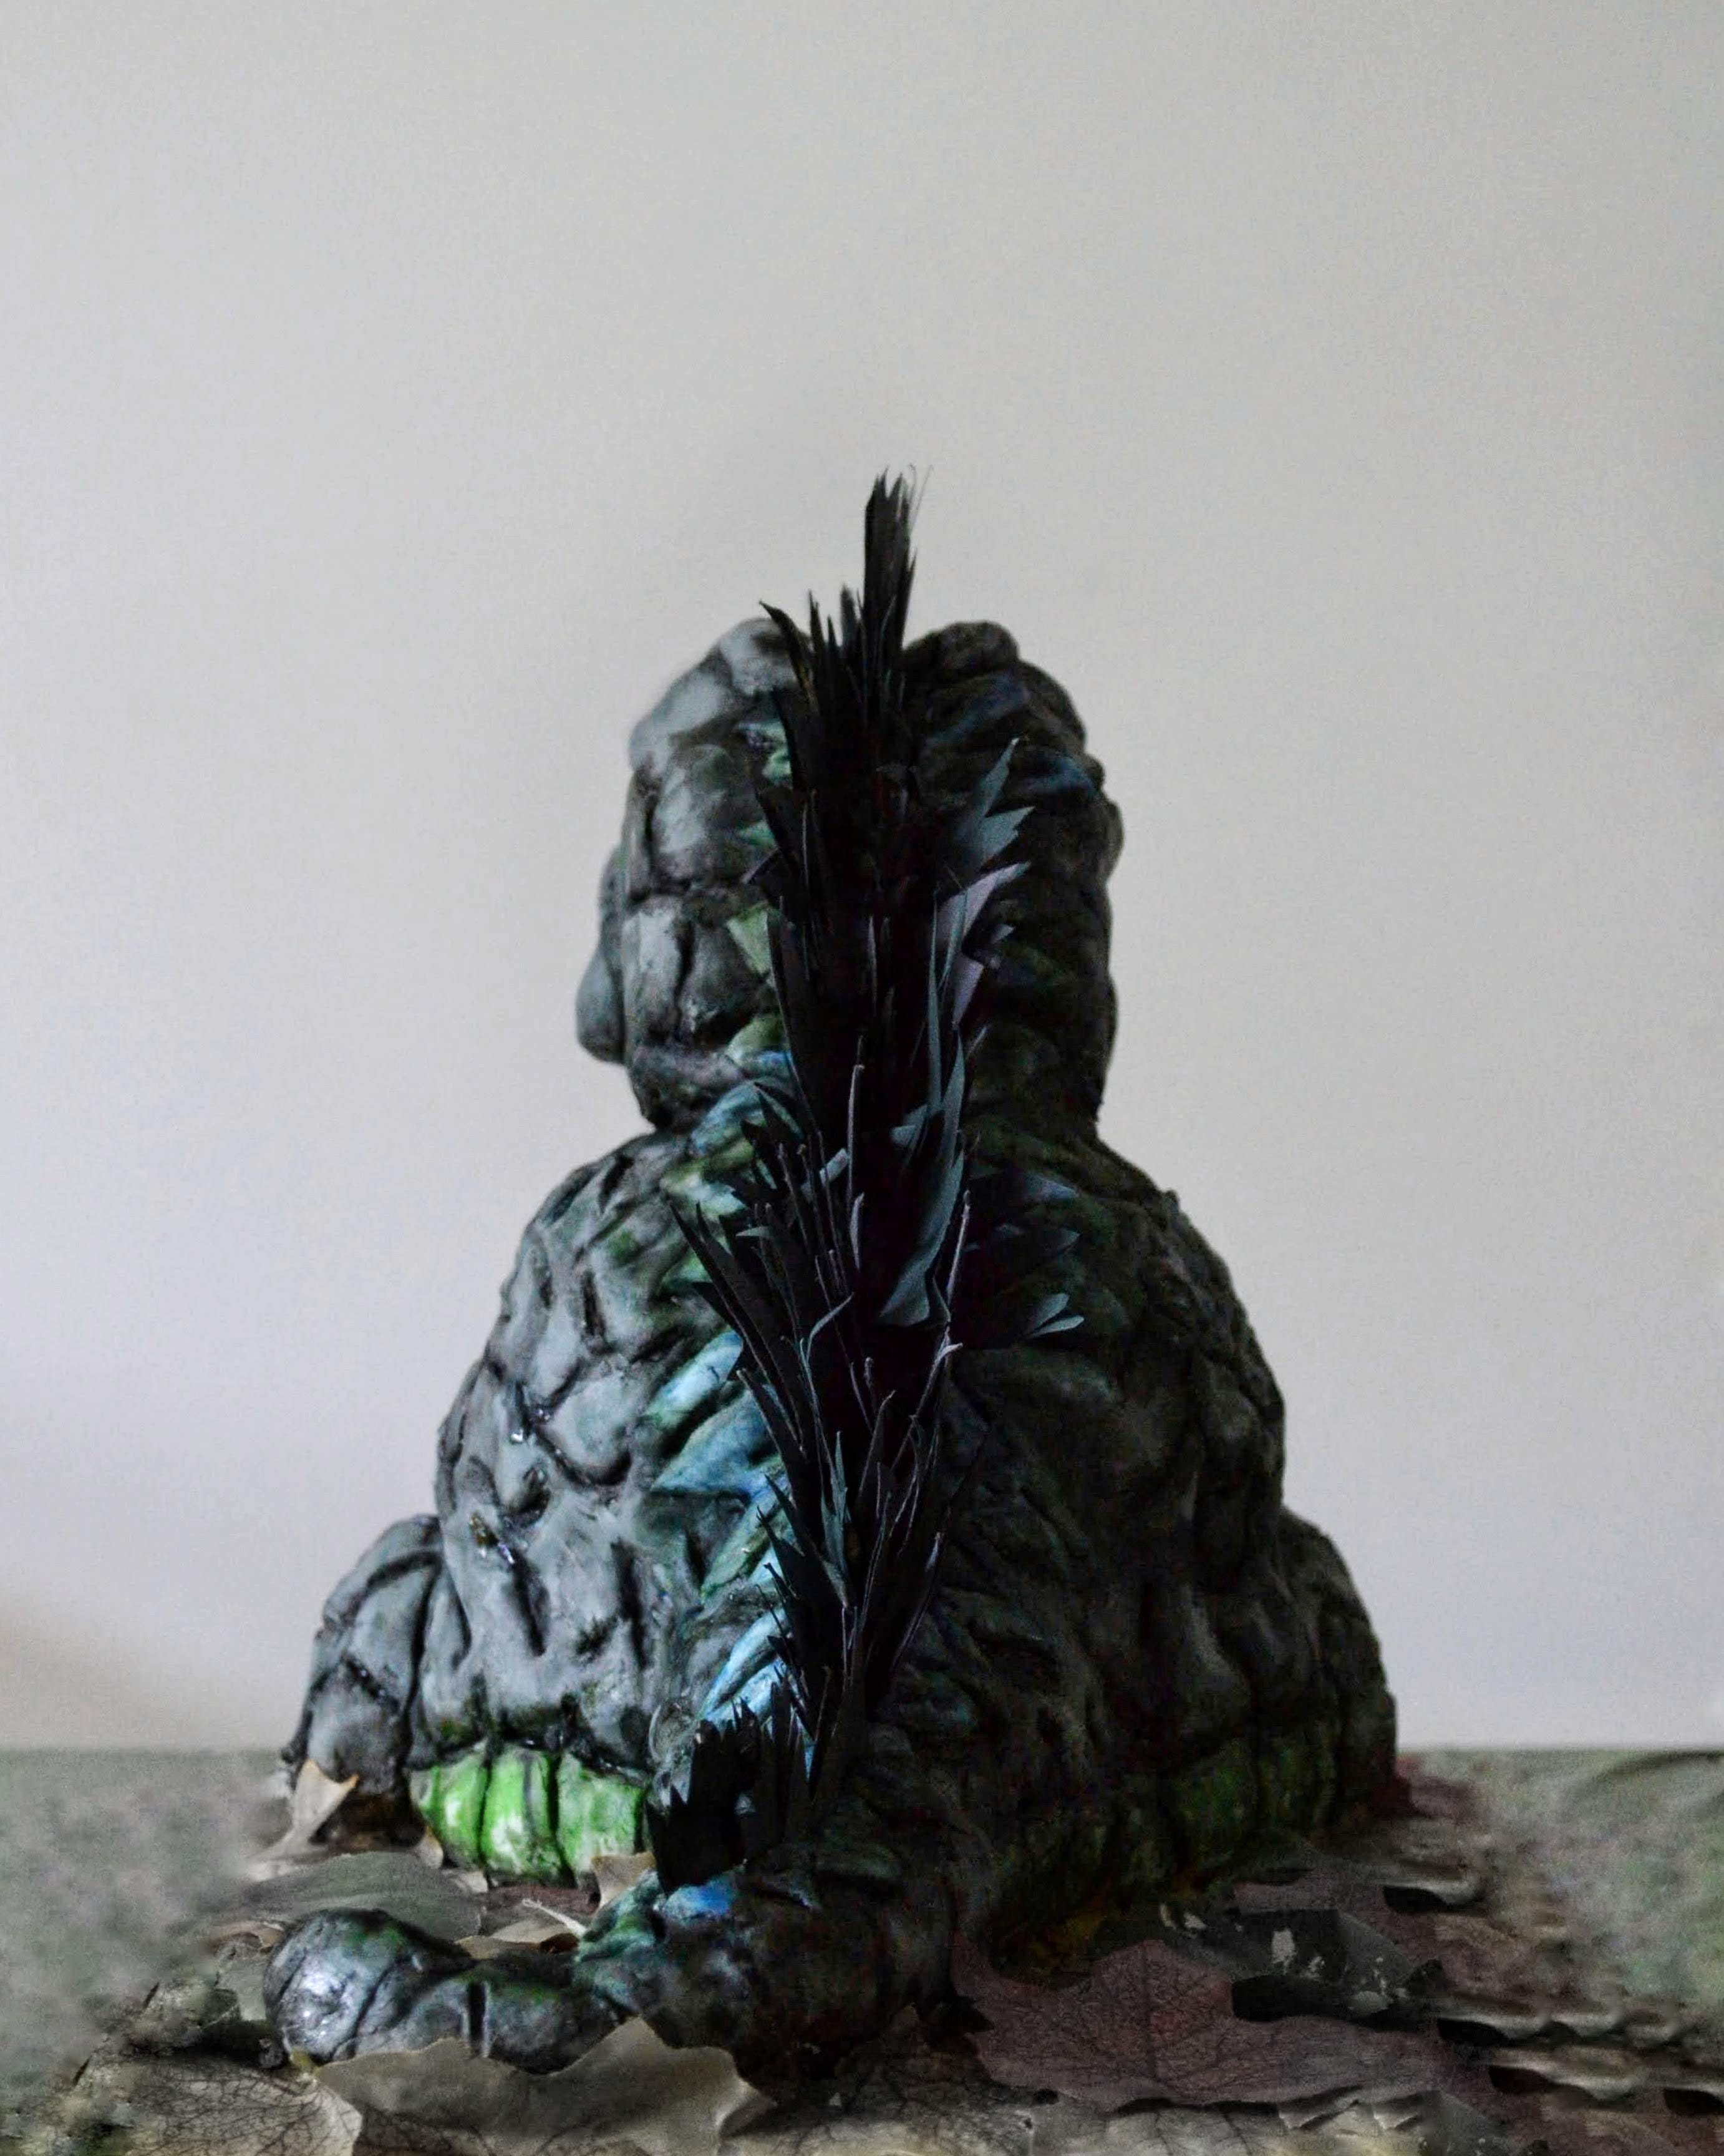
• the spikey back! Adding this layer ensured we could cover over the line where the two main fondant sides met, but also allowed me to add extra texture later. It didn’t necessarily have to be a different colour, but we went for blue. I rolled the fondant out into a long strip and cut the edges before applying it to the cake – changing the cut after it has been attached to the other layer is near impossible.
• I had leftover blue fondant, and used it to make pointy evil looking toes.
*not pictured: a close up of the eye shaping. I was so in the zone I didn’t even think about taking a photo, but ultimately: I shaped grey fondant into worms and stuck them where I felt his eyes would be. I built up around the eyebrow to make him sinister looking, and left a hole in the centre for an eye to be added later.
step iv: create texture


Even though I knew I’d be painting my monster with food colouring, I wanted to etch into the fondant itself to create extra depth and texture. This is an optional step, but here’s what I did:
• using a blunt, thin object – I used a stick similar to a lollipop – I outlined the different sections I’d created. Around the belly, between the toes, around the back strip, and along the length of the underside.
• using the same stick, I went along adding texture into those sections. Crazy zig-zags along his back, crease marks on the undersides, panels on his belly, indents on the toes, and scales over the whole body. I’m not really a Godzilla/dinosaur gal, so this involved a large amount of guesswork, but I’m happy with it.
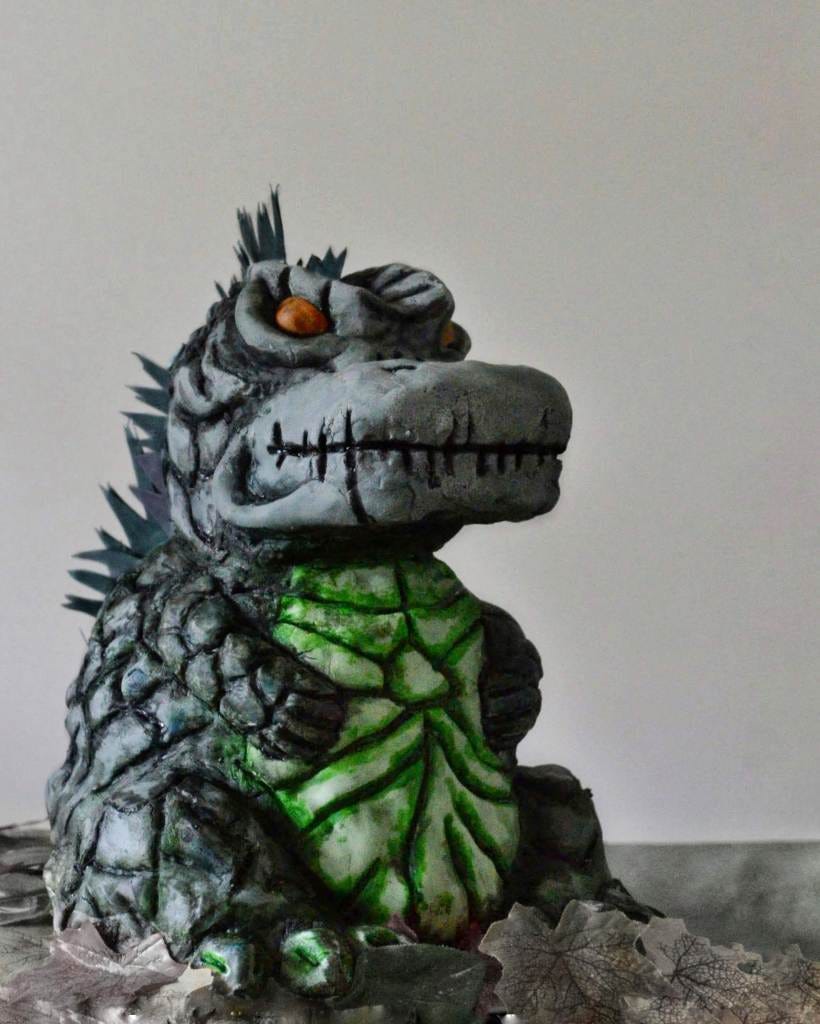
• give him an evil face! I created a very simple line mouth using my stick, with slits going up and down the whole way around. I also added two indents on top of the snout to work as a nose, and a line similar to the mouth at the bridge of the nose and eyes. To make the eyes pop, I carved deep lines into the brows/under-eye to make him look more frown-y and scary. I also manipulated the fondant around the jaw into a more pronounced shape.
step v: get painting!


There are no step-by-step photos of the painting stage because I was in the zone. I love art, and painting is so relaxing to me that I actually stopped noticing time go by. Suddenly it was 8pm and I was sitting in front of a mostly finished Godzilla! And that called for a celebratory glass of rosé! Here are some painting tips:
• I used a thin paintbrush and my lollipop stick. Use what you have!
• I mainly painted inside the creases I’d created earlier, but I also added shadows around said creases. This created extra depth.
• I used black food colouring for the body, green for the belly/underside, and blue for the back. I also added splodges of blue & green around the body because, according to my limited knowledge, Godzilla came from the sewers? Incorporating the blue & green made him overall more dirty and slimy looking.
step vi: add extras
I left these three until the end because I wanted them to be perfect: eyes, arms, and spikes.
• the eyes. I shaped tiny balls of fondant into pointy ovals and stuck them into the sockets I’d created earlier. I’d already painted the sockets underneath the eyes different shades of black, so I went with dirty orange/yellow for the eyes. It really stood out!
• the arms. I had hopes and dreams of making the arms from chocolate biscuit-cake and poking them into the torso with wooden sticks. Alas, it wasn’t meant to be – the main body was too sturdy for anything to penetrate. Instead, I settled for making the arms out of fondant. I shaped them into thick worm shapes and glued them to the painted body with water. I then repeated my stick texture technique and painted the arms to match the body.
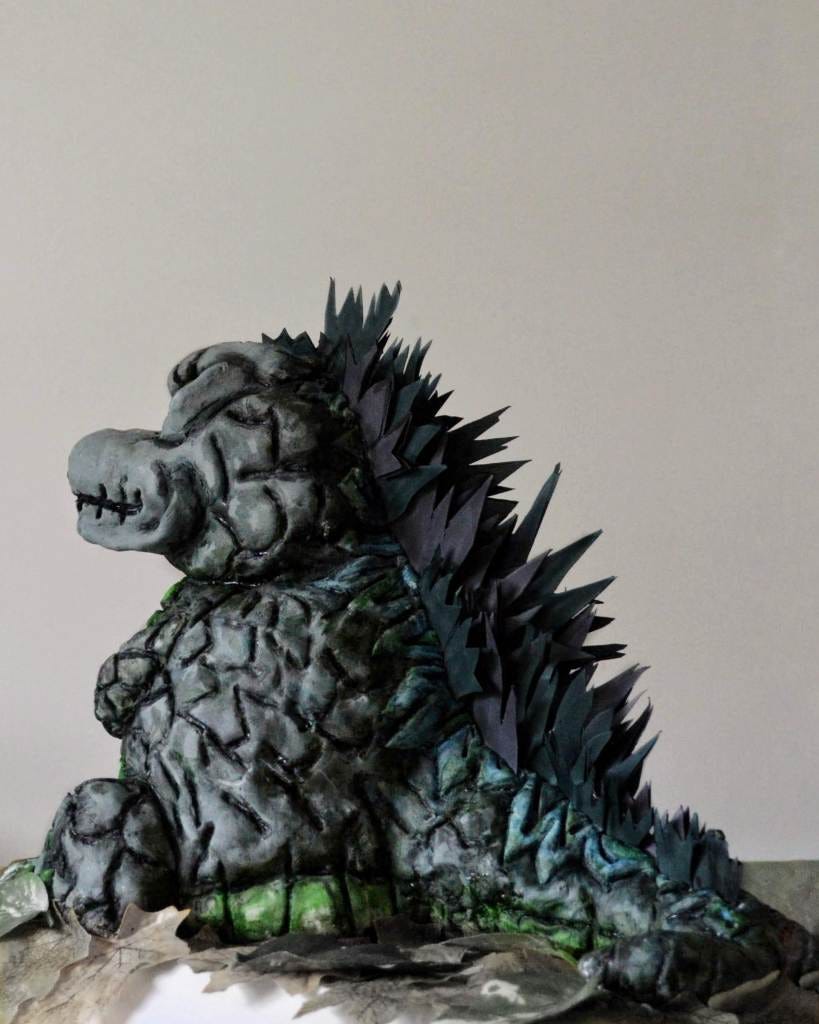
• finally, the spikes. We were at a loss about how to make the spikes – after eights? biscuit-cake cut into spikes? hardened fondant? – but in the end we went down the non-edible route. My wonderful, wonderful mother painstakingly cut out dozens of different shaped spikes, which we stuck into the fondant with toothpicks.
And there we have it! Easy… right? Ha! In fairness, I actually LOVED making this cake. More-so the actual decorating, but the construction was pretty fun too! In total, the whole thing took me the guts of two days – which isn’t that bad when you think about it! I mean, homemade croissants take three days to make!
I hope you found this even a tiny bit helpful. I’d love to know – please comment or tag me on Instagram.
Happy monster making!
Vicki & Zilla, xo.