

Gifting 101: Preserved Lemons

Can we talk for a second about gifting? I love to gift something extra thoughtful to loved ones, something that you can’t just walk into a store and buy. A batch of cookies, a bottle of homemade vanilla extract, a cute bag of homemade chocolate lollipops, a tub of preserved lemons. Gifting these homemade items is rewarding in two different ways: 1) people really appreciate you going that extra mile to show that you genuinely care about them, and 2) you get to feel like the Queen of Gifting. It’s extremely gratifying work!
With all that in mind, shall we gift together?
It’s so easy that I managed to take step-by-step photos of the process, in the style of Joy. Let’s get to it!
what we’ll need:
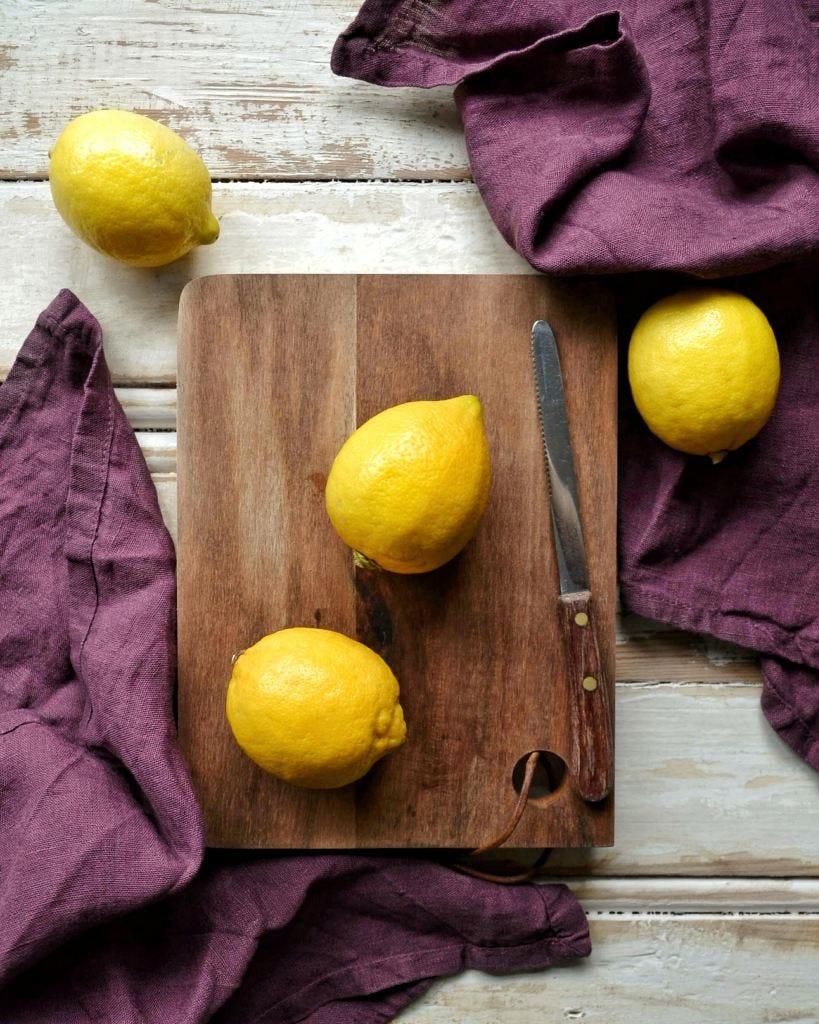
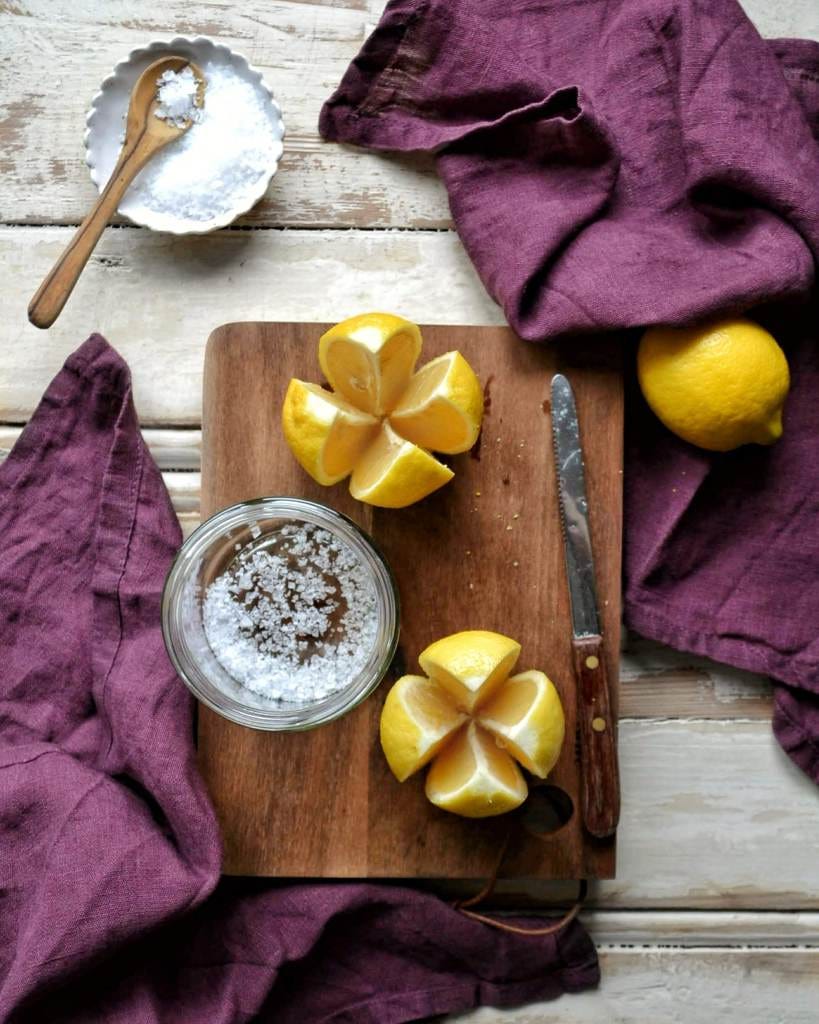
four lemons, scrubbed to within an inch of their life to ensure complete cleanliness
coarse salt, and lots of it – I am forever using Maldon
water that has been boiled and left to cool, now sterile
kitchen items such as: a sharp knife, a pint sized jar, a muddler of sorts
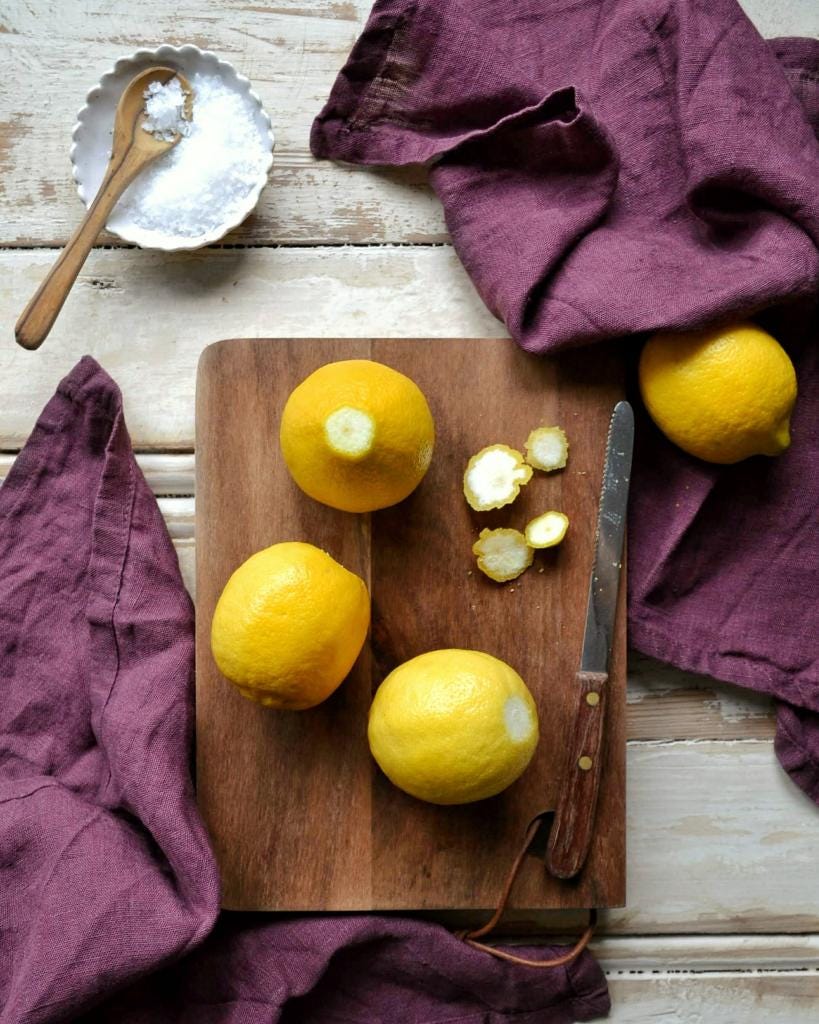
step one
First, we slice off the tops & the bottoms of each lemon, leaving just the main belly of the fruit intact.
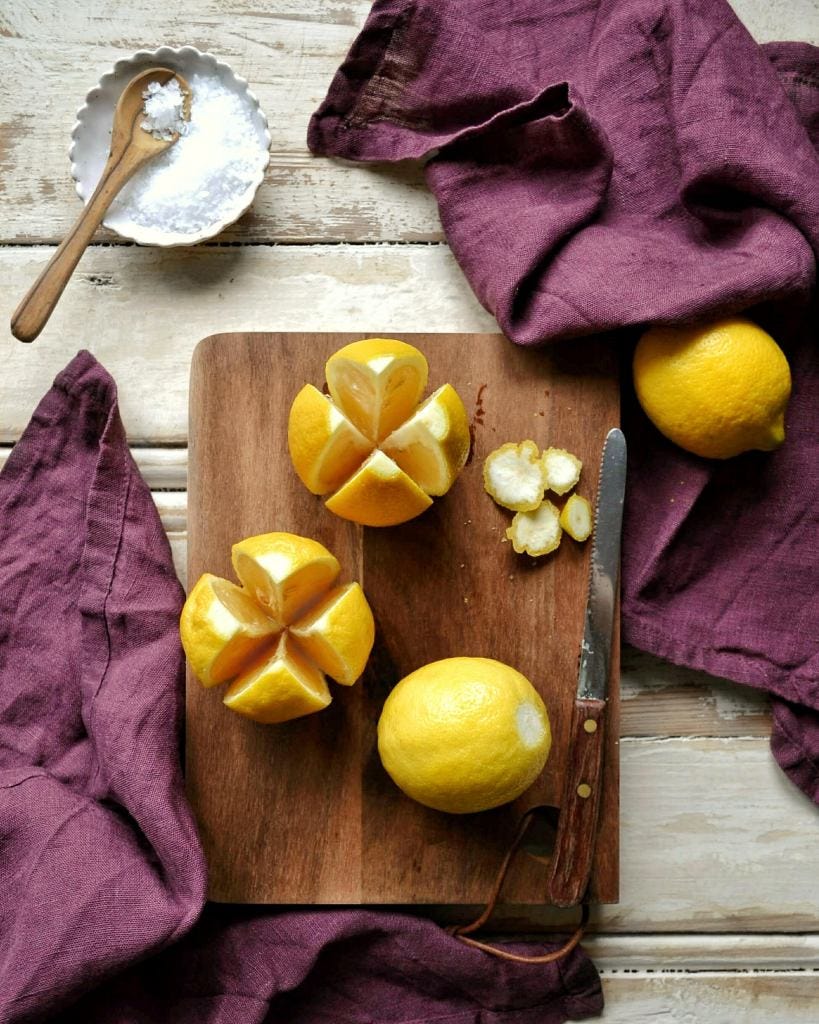
Next, cut the lemons into quarters, but be sure to leave the ends attached. Basically, slice just ¾ of the way into each lemon to make an adult version of those paper fortune tellers we used to make as kids.
step two
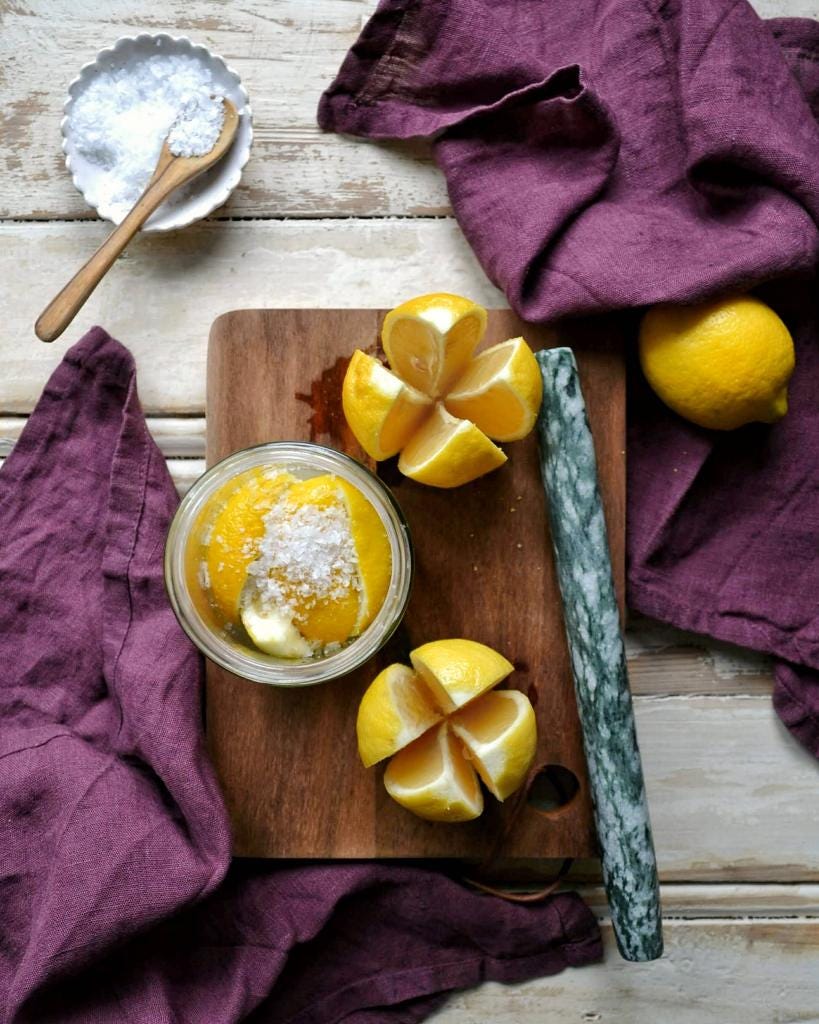
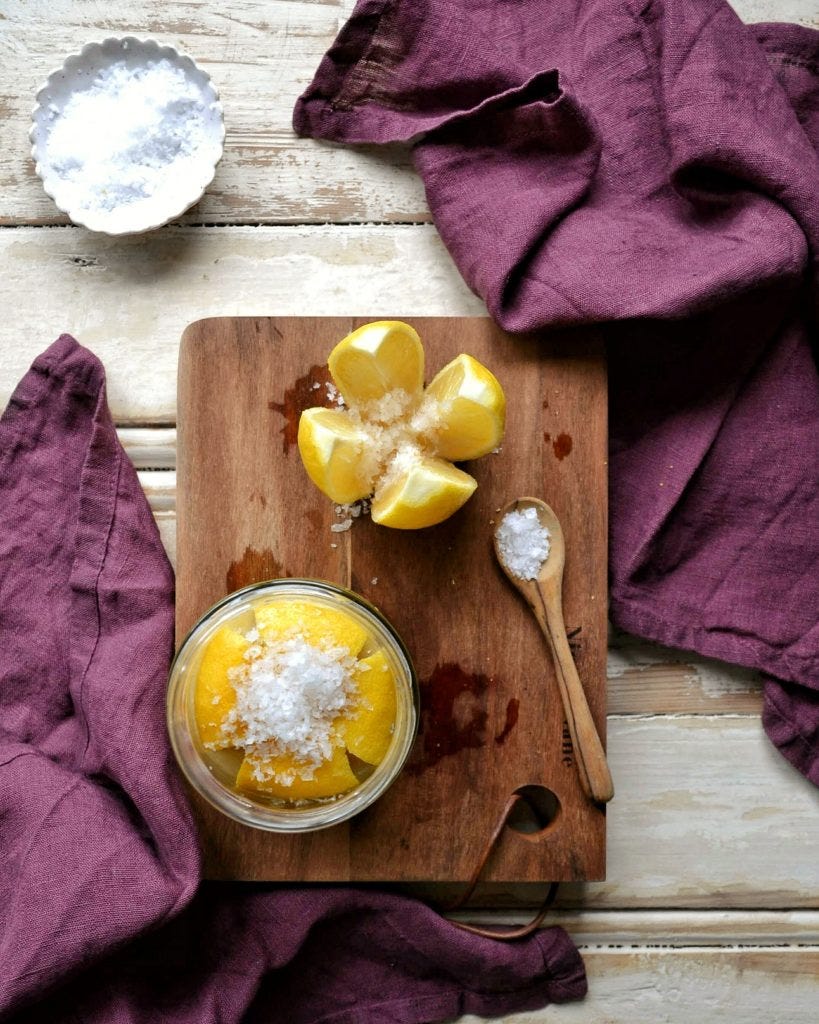
Using the flakiest salt you can get your hands on, sprinkle one teaspoon into the bottom of your chosen jar, covering as much of the base as possible.
Pour a second teaspoon of salt into the cuts in the first lemon, trying to spill as little as you can.
step three
This is where you’ll need some elbow grease. Place the salted lemon cut side down in the jar & press down hard to ensure it releases its juices. Once squished into place, cover the top of the lemon with another teaspoon of salt.
I used my swanky marble rolling pin to aid my squishing (thanks, Boyfriend!), but if you’re fancy enough to have a cocktail muddler I reckon that would do the job excellently!

step four
Repeat the salting and squishing process with the remaining lemons, being sure to add a layer of salt between each & to really press down hard.
Salt, squish, salt, repeat.
I swear, it’s almost therapeutic! I nearly made several jars just for the sake of my own sanity.
step five
By the time all the lemons are in the jar it should be mostly full of lemon juice – if not, you can always give them an extra muddle to squeeze any remnants out. Using the boiled & cooled sterile water, bring the liquid up to the very top of the jar, entirely submerging the lemons.
The lemons need to sit at room temperature for 3 days before resting in the fridge for 3 weeks. Whenever you think of it, give the jar a good ole shake. There we have it – preserved lemons!

It’s a good idea to stick a date on your jar, for two different reasons. 1) you can keep an eye on the progress of the lemons. 2) you can look forward to the day you get to crack open that jar & cook with those bad boys! My favourite dish to add these to is Molly Yeh’s preserved lemon/pine nut/feta pasta dish – it is otherworldly.
You see? Super easy peasy to make and an excellent way of prolonging citrus season! Also.. can we all agree preserved lemons would make an excellent hostess gift? You can thank me later.
Happy gifting, friends!
Gifting 101: Preserved Lemons
Such a thoughtful, simple gift to make for loved ones: preserved lemons.
P R E P10 minutes mins
T O T A L24 days d
Yield: 1 pint-sized jar
Author: Vicki
INGREDIENTS
4 lemons
flaky sea salt, such as Maldon etc
sterile water
DIRECTIONS
First, thoroughly scrub each of the lemons to ensure they are entirely clean.
Slice off the tops & the bottoms of each lemon, leaving just the main belly of the fruit intact.
Cut each lemon into quarters, but be sure to leave the ends attached – slice just ¾ of the way into each lemon.
Sprinkle one teaspoon of salt across the bottom of your chosen jar.Pour another teaspoon of salt into the cuts of each lemon, being careful not to lose too much.
One by one, place the lemons – cut side down – into the salted jar. Between each lemon layer, sprinkle another teaspoon of salt. Use a muddler of sorts to press down hard on each lemon, to ensure it releases its juices. Repeat until all of the lemons are packed into the jar, and sprinkle a final layer of salt on the very top.
The lemon juice should be at least halfway up the jar by this point, if not you need to press harder on the lemons. Once past the halfway mark, fill the remaining space in the jar with the sterile water; pouring up to the very rim of the jar. Seal the jar tightly.
Leave the jar out at room temperature for 3 days – shaking vigorously every now and then – and then move to the fridge for a further 3 weeks, taking the jar out for a good shake whenever you think of it.
Did you make this recipe? I’d love to know! Please leave a comment & a rating below, or tag me on Instagram @imvcki. Thank you so much for supporting Passionate Baker!